Back to 1969 Corvette
Engine Story
|
|
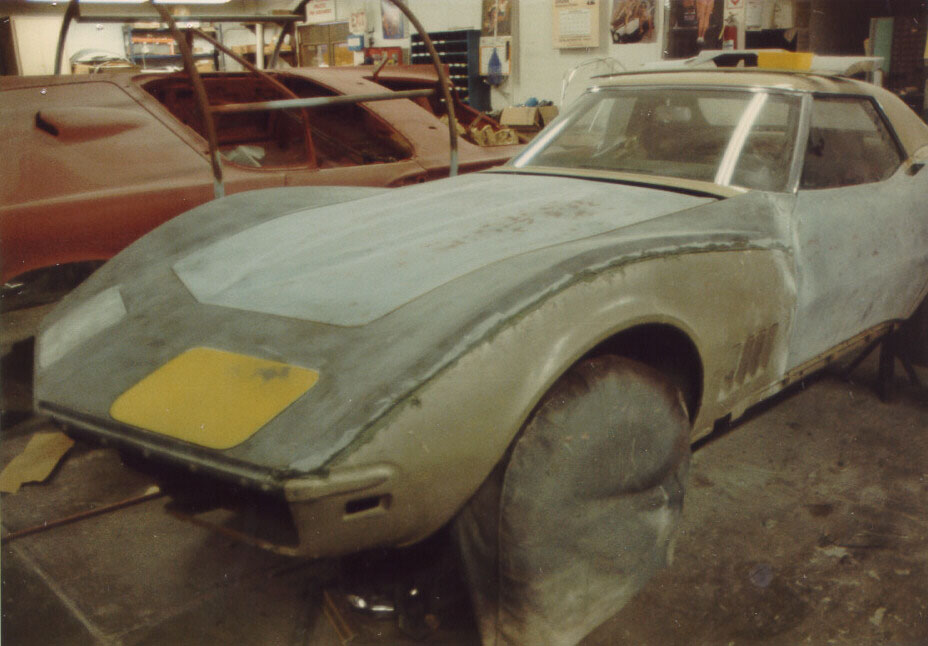
This is the story of the only crash any of my cars have been in, and how it was repaired. I let a friend drive the car after she begged and pleaded to let her drive it. I did; she drove about 10 feet, and managed to get hit on the left front corner. The damage looked minor, but an alert State Farm estimator correctly concluded that there was hidden damage: the headlight support bar had separated from the hood surround, requiring a new surround! He recommended I take the car to The Prism Auto Body in Santa Rosa for a first class repair. Harry, owner of The Prism, took most of the photos you see here.
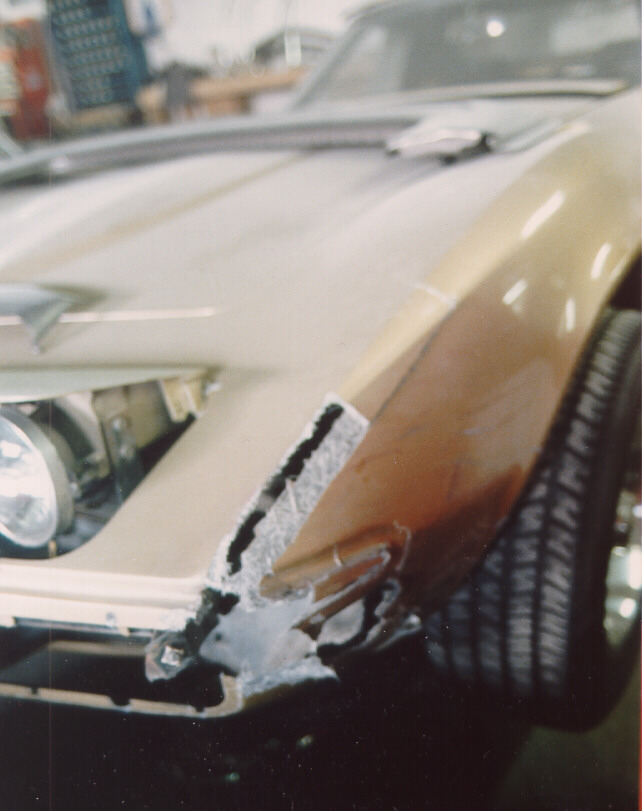
After the bumper, headlights, and all supporting hardware was removed, the left front fender and hood surround were removed. The photo below shows the car at this stage.
The next photo shows the car with the new hood surround in place and the hood being prepared for painting. That's a '57 Thunderbird body in the background, mounted in a rotisserie, a special frame that allows it to be rotated to any angle to ease working on the underside and other hard to reach places.
In the following photo, the bonding strip has been bonded to the hood surround and held in place with clamps until the adhesive sets. The front fender will be bonded to the bonding strip forming a butt joint backed up by the bonding strip. That's how they built them in the St. Louis factory and why these cars needed so much finish work at the factory and whenever repairs like this are needed. Harry's people spent a lot of time making sure these joints wouldn't show when the car was finished. Notice the Maserati and Ferrari in the background. Harry works on many special interest cars.
Next we get to see the right side and see how the hood surround has been bonded to the right fender which was not removed from the car. Notice the huge Vice Grip clamps holding things together until the adhesive dries. That's an Alfa Romeo in the background: Harry worked a variety of neat cars.

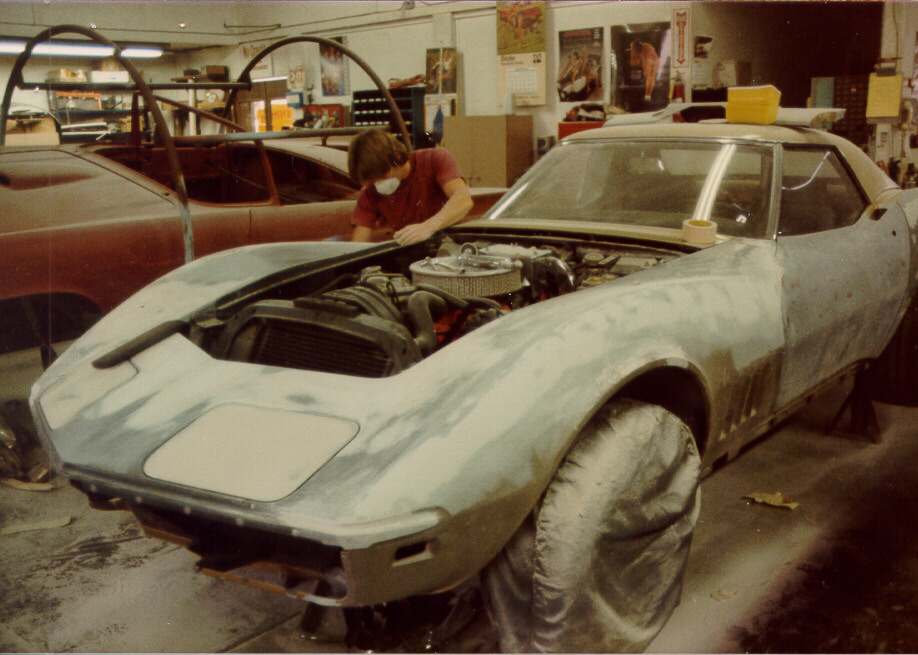
The new fender has been bonded to the hood surround as I described above. The headlights have been installed and are being prepared for priming and painting. Since the headlight doors are metal, they are painted differently than the rest of the body which is fiberglass.
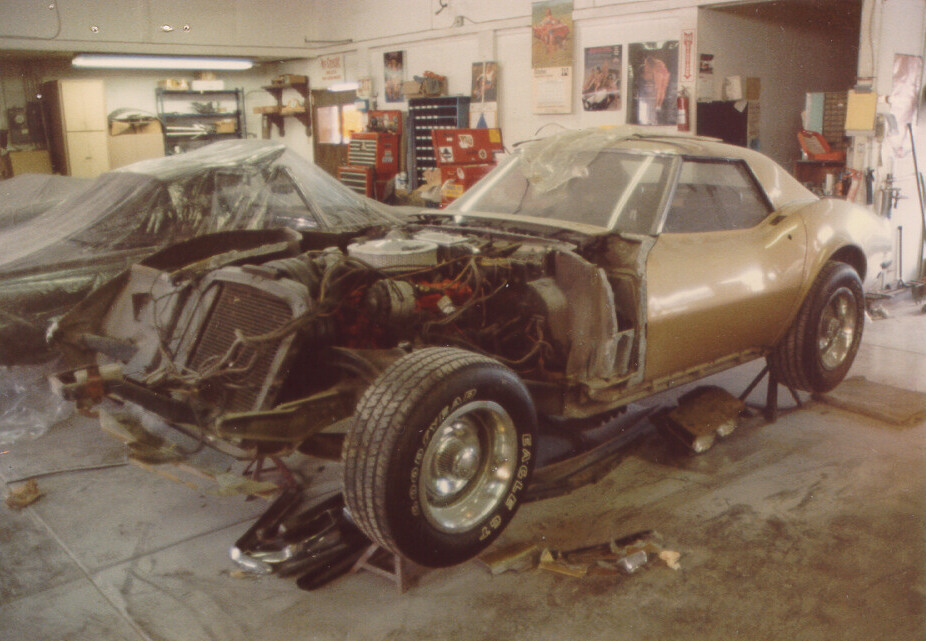
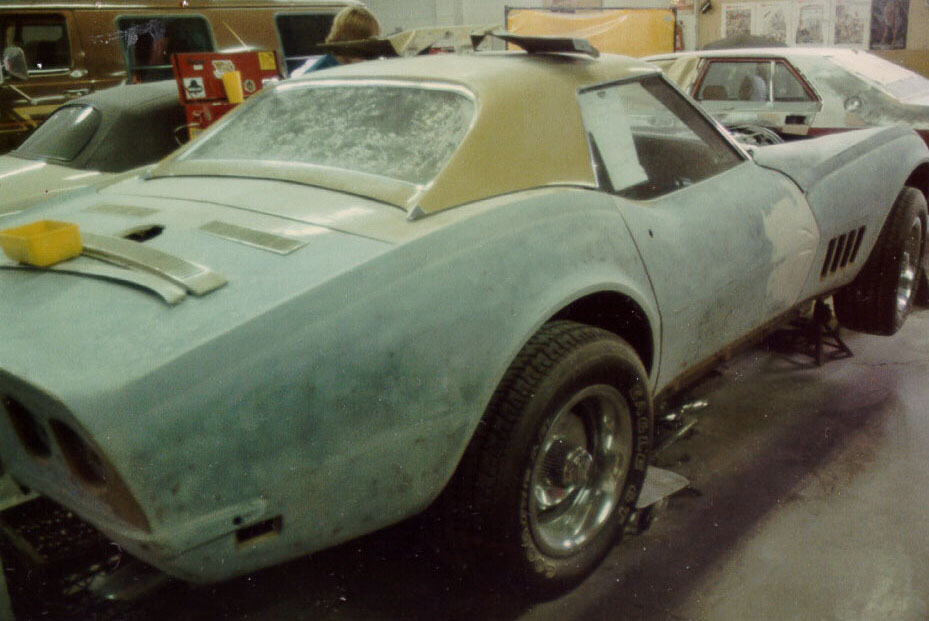
It was during the time this work was being done that my Corvette fires were reignited and I started thinking about the new C4 Corvettes and how nice it would be to own one. Harry, being a Corvette guy, didn't help much because he kept showing me his 69 Corvette that he was working on in the back of the shop. All this Corvette activity had me hooked again....My C4Corvette
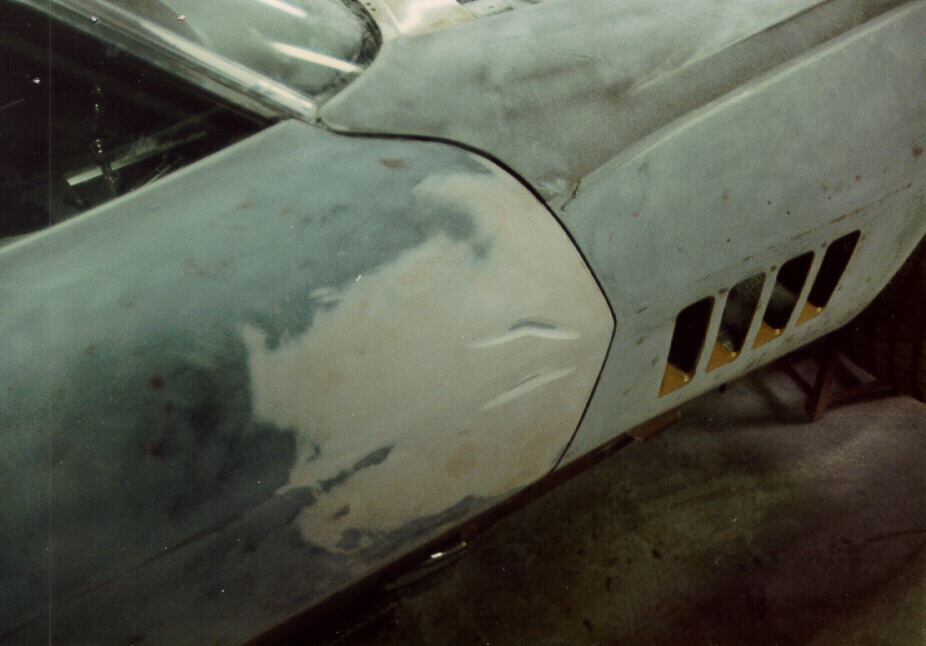
Next we have a shot of the young man who did all the real work on the car. Because the fiberglass body panels are not perfectly smooth or uniform they require a lot of finish work to make the body free of ripples and the joints smooth and invisible. If you sight along the side of most Corvettes from this era, you can see the waviness in the body, and often see the seams. This Corvette doesn't have those waves or ripples, nor can you see the seams.
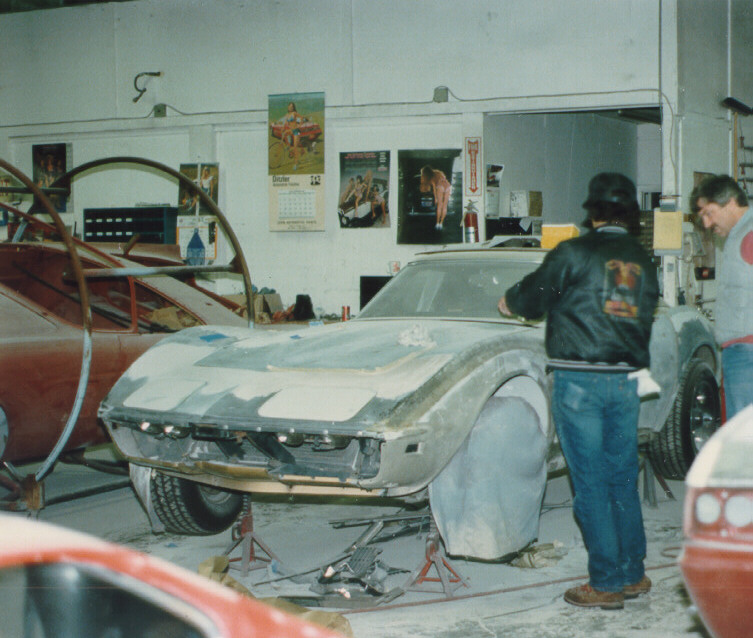
This shot of Harry and me shows us looking over the progress to date. The front fender bond seam has not been filled nor has primer been applied, you can still see the seam. Also, note that the rear fender seam has been exposed. In talking to Harry about how to match the new metallic Riverside Gold paint on the front of the car to the old paint on the back, I decided to splurge and repaint the entire car. I reasoned that since Harry was doing a first class job on the front, I might as well have the rest of the car look equally good and so I elected to have it done.
This photo of the right door reveals the poor repair work done at an Oakland Chevrolet dealer after a woman backed into the door several years prior to this episode. I had assumed a Chevrolet dealer would know how to fix a fiberglass body. Wrong! Harry made it right by removing the body filler and fixing the door properly.
Next we see a shot of the rear of the car with the bumpers, lower panel, gas door, and other components removed so the body could be prepared for painting. Harry was great about encouraging me to visit the shop on weekends to see how the car was progressing. Most of my visits took an hour or more, time spent learning all the fine points of the work in progress, and just talking Corvettes and cars in general. Get a couple of motorheads together and that's what we do.
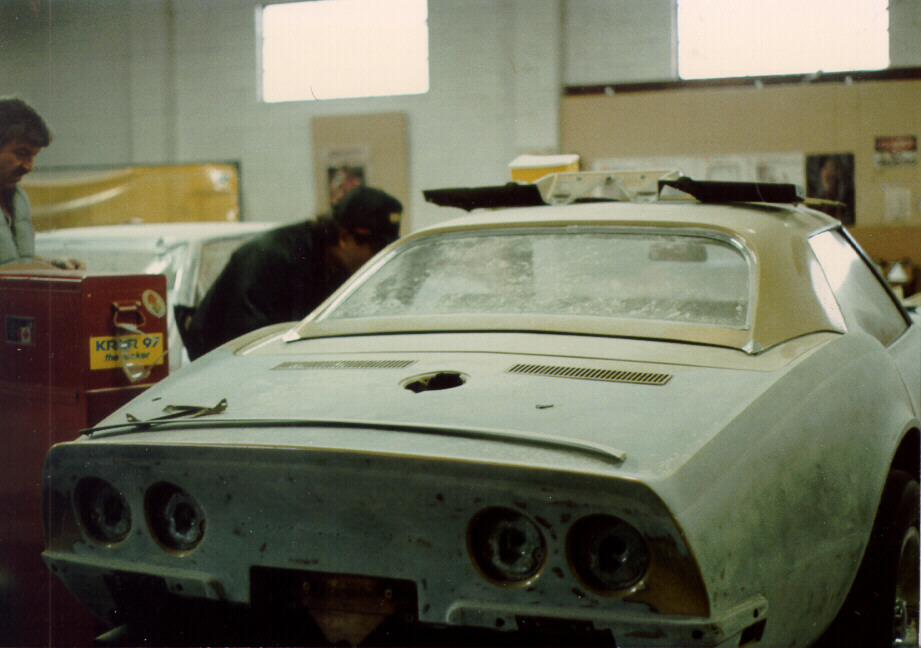
More of the same is seen here. If you look closely, you can see the seam where the fender joins the "deck". These cars don't have a trunk opening, so the so-called deck is just a seamless expanse, broken by the gas door and the cabin exhaust vents. There are little vacuum operated doors inside the vents that close when the heater is turned up more than about one third.
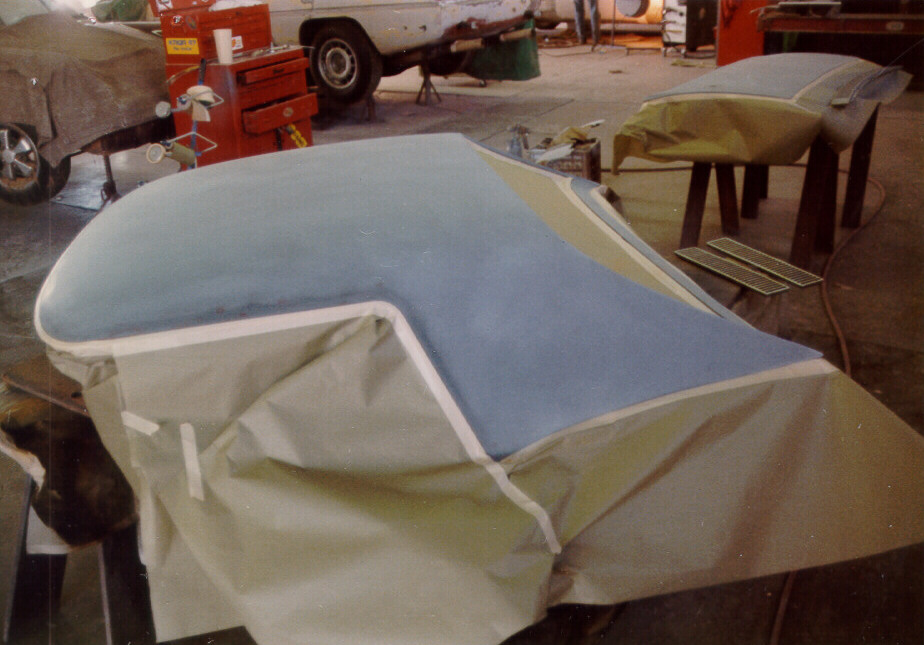
This photo shows the removable top on a stand, masked off and primed. That's the top I bought in 1975 when Chevrolet stopped making convertibles. I thought it was then or never if I wanted a genuine GM hardtop. It came primed and I had had it painted when I bought it, but after eleven years, repainting it with the rest of car was the right thing to do. In the background you can see the rear cabin exhaust vents and the convertible top panel.
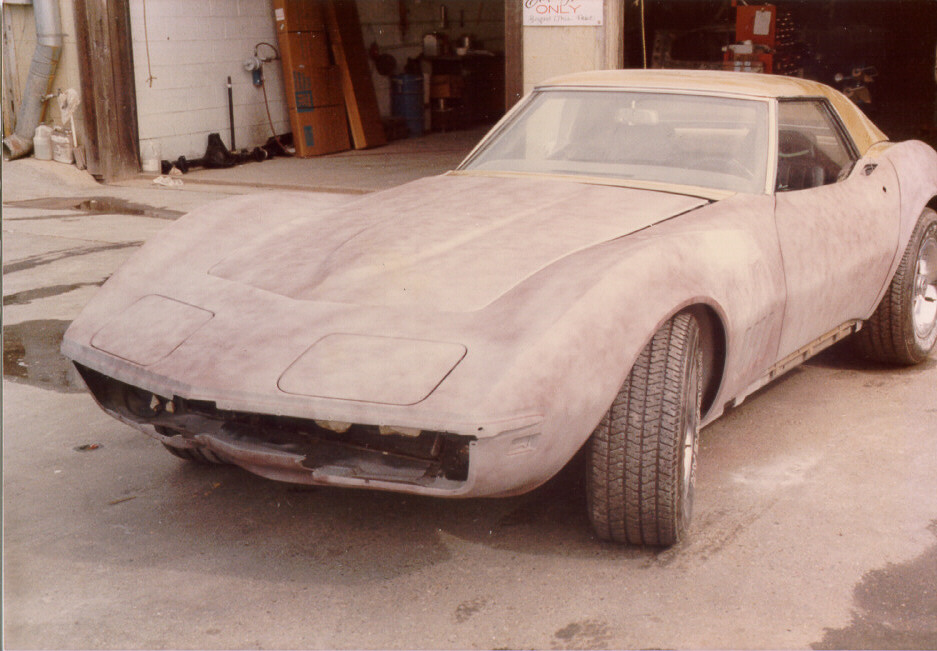
Here we see the car in the process of being sanded to ensure a smooth, one-piece looking body. A light coat of red primer is applied over the grey primer, and then sanded lightly with a block sander. If there are any low spots the red primer won't be removed, showing exactly where the low spots are. These low spots are filled with body filler, and the process repeats until there are no low spots, waves, or ripples. This is the kind of detail work that separates a good paint job (expensive) from a run-of-the-mill job you might expect on a daily driver.
Post Repair Shots
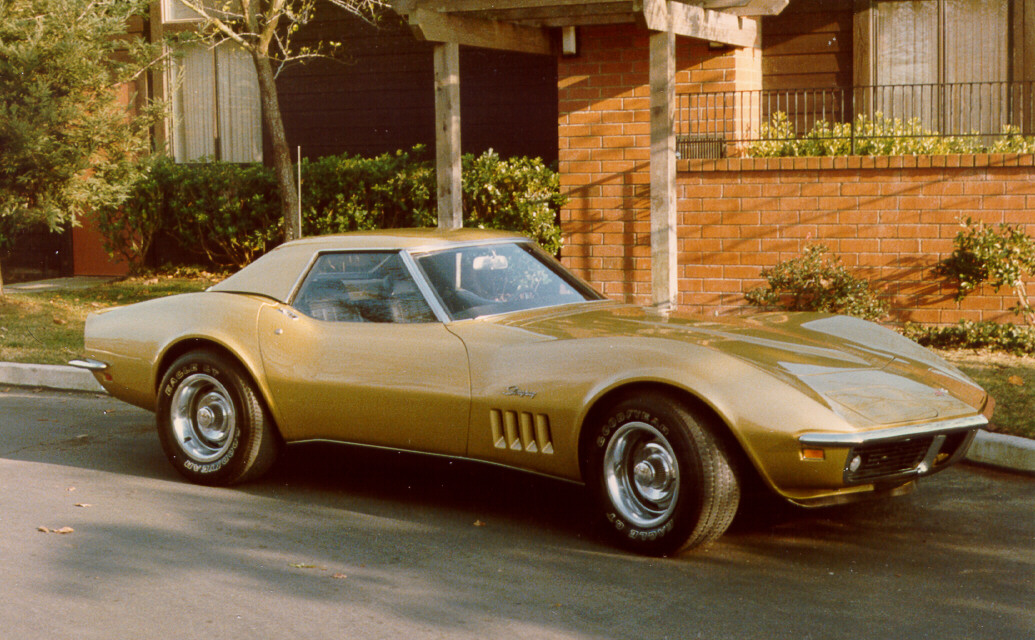
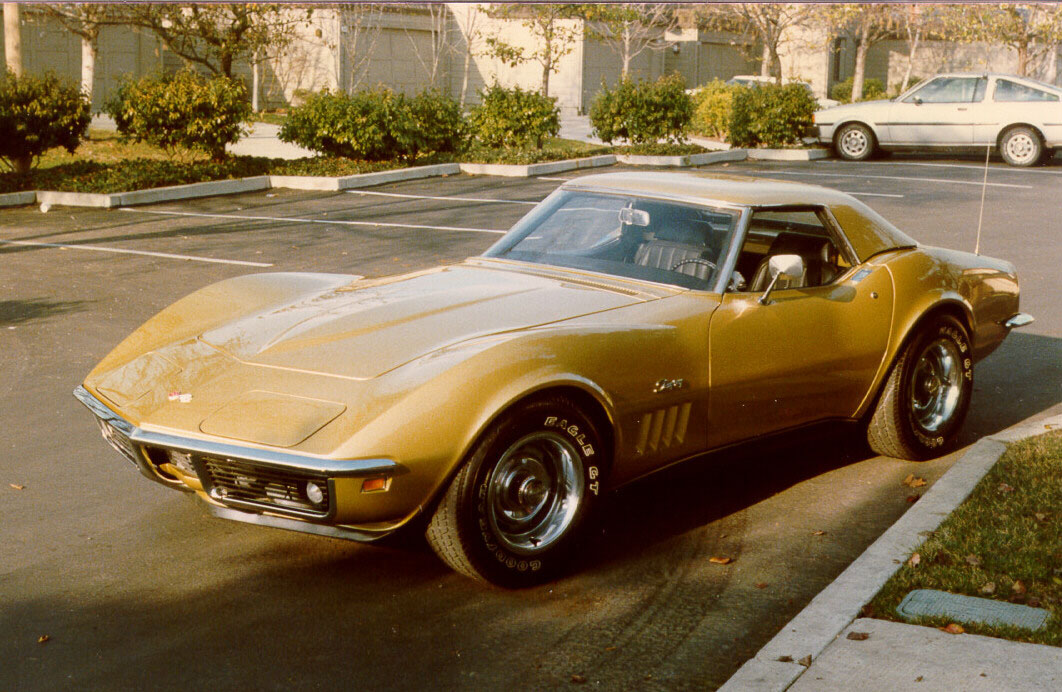
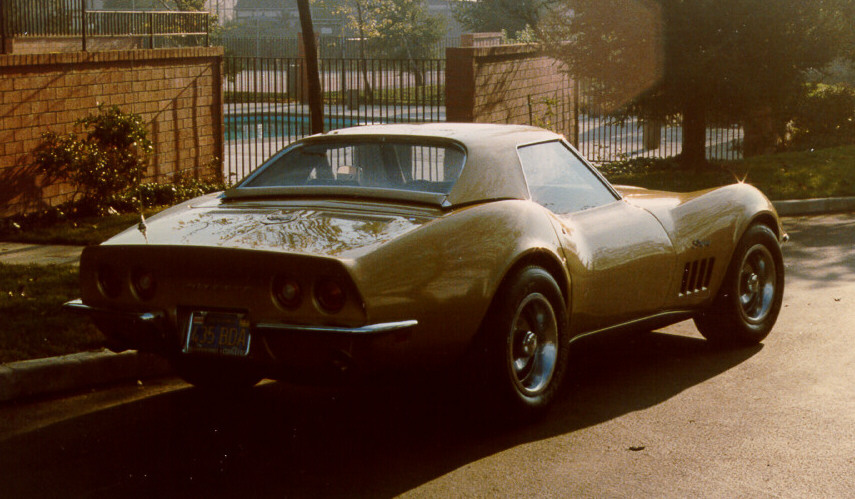
Nice Work Harry, Thanks!
Home
Motorcycles XK120M
Jaguar
1965 Mustang 2+2
1969 Corvette
1986 Corvette
2001 Corvette
The Workhorse